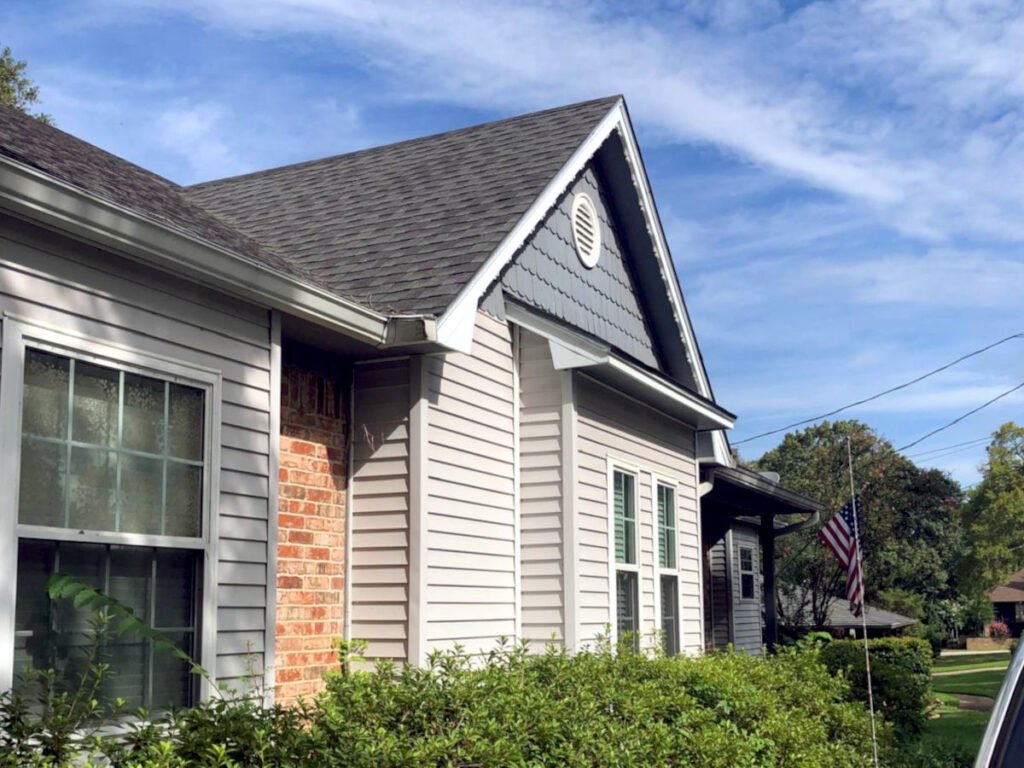
There’s something deeply satisfying about giving a home a fresh coat of paint. We know that better than most—when we started our business, the very first service we offered was exterior house painting, and to this day, it remains our favorite. Why? Because something as simple as a new layer of paint can completely renew the spirit and look of a home. But the key to a lasting, beautiful finish lies in one often-overlooked step: prep.
A good paint job starts before the first brushstroke.
If you skip the prep, you’re wasting your time—and your money. Flaking, bubbling, fading? That’s what happens when the surface isn’t ready.
Whether you’re doing it yourself or hiring a crew, this is the prep checklist that saves projects from disaster.
✅ Why Proper Preparation Is Critical
Before you even open a can of paint, proper prep work is 70% of the job. Painting over dirty, peeling, or damaged surfaces can lead to chipping, bubbling, and premature wear. Trust us, skipping steps now will cost you twice later.
Without solid prep:
- Paint won’t adhere properly
- You’ll trap dirt, moisture, and mold under the finish
- You risk bubbling, cracking, or peeling within months
- You could void product warranties
- You’ll end up repainting—and spending—all over again
- Peeling or bubbling paint
- Water stains
- Mold, mildew, or algae
- Cracks in the siding
- Rotten wood or deteriorated trim
- Loose gutters or shutters
🟢 Pro Tip: Use your phone to take pictures of areas that need repair or attention.
- Mildew
- Cobwebs
- Flaking paint
- Dust and grime
🧽 Add mildew-killing detergent to the mix for best results.
Let everything dry for at least 24–48 hours before moving forward.
- A paint scraper
- Wire brush
- Or power sander
To remove any paint that’s:
- Chipping
- Cracking
- Bubbling
⚠️ Note: If your home was built before 1978, test for lead paint and use proper containment and safety gear.
- 80 to 100-grit sandpaper
- Orbital or palm sander for large areas
🎯 Goal: Create a clean, slightly rough surface to help the new paint grip better.
- Rotten wood: Replace it
- Cracks in stucco: Use masonry patching compound
- Holes in siding: Use exterior-grade filler or epoxy wood filler
🔧 Don’t forget to caulk joints and gaps around windows, doors, and trim using paintable exterior caulk.
- Cover bushes, flowerbeds, and decks with drop cloths or plastic sheeting
- Remove or mask off:
- Light fixtures
- House numbers
- Mailboxes
- Vents
- Outdoor furniture
🎯 Tape off windows and trim with exterior-grade painter’s tape to avoid overspray or drips.
- Peeling or bubbling paint
- Water stains
- Mold, mildew, or algae
- Cracks in the siding
- Rotten wood or deteriorated trim
- Loose gutters or shutters
🟢 Pro Tip: Use your phone to take pictures of areas that need repair or attention.
- Mildew
- Cobwebs
- Flaking paint
- Dust and grime
🧽 Add mildew-killing detergent to the mix for best results.
Let everything dry for at least 24–48 hours before moving forward.
- A paint scraper
- Wire brush
- Or power sander
To remove any paint that’s:
- Chipping
- Cracking
- Bubbling
⚠️ Note: If your home was built before 1978, test for lead paint and use proper containment and safety gear.
- You repaired bare wood or patched areas
- You’re changing from dark to light colors
- You’re painting over stained or chalky surfaces
Use a high-quality, stain-blocking exterior primer compatible with your paint (latex or oil-based).
- Temperatures are below 50°F or above 90°F
- Rain is forecast within 24–48 hours
- Humidity is extremely high (can cause blistering)
✅ Best conditions: Dry, overcast days with moderate temperatures
- Acrylic latex for durability and weather resistance
- Consider sheen: flat hides imperfections; satin or semi-gloss adds protection
- Light colors reflect heat; darker ones absorb it
🎯 We’ve always believed that when you care about the prep, the final result shows. And few things are as rewarding as seeing a house transformed after doing it right from the start.
🕓 Timeline for Exterior Painting Prep
| Task | Time Estimate |
|---|---|
| Inspection | 1–2 hours |
| Pressure washing | 2–4 hours |
| Drying time | 24–48 hours |
| Scraping & sanding | 4–10 hours |
| Repairs & caulking | 1–2 days |
| Priming (if needed) | 1–2 days |
| Total prep time | 3–6 days (average) |

🛠️ DIY vs. Professional Prep: What’s Best?
DIY is cheaper but labor-intensive and risky if you skip a step.
Hiring professionals ensures faster, safer, and longer-lasting results.
Pro tip: If you’re in Texas or southern states, heat and UV exposure are extra punishing—so professional prep becomes even more critical.
👉 Related Service: Looking for Reliable, Licensed Home Painters Near You?
✅ Conclusion: Prep Like a Pro, Paint Like a Master
Your paint is only as strong as the surface it clings to.
If you want curb appeal that lasts, prevent premature peeling, and protect your biggest investment—take prep seriously. Follow this checklist and save yourself time, money, and frustration for years to come.
