
A Step-by-Step Checklist
Because even the best paint won’t stick to dirt, mold, or bad planning.
Are you about to waste thousands of dollars on paint that won’t last a year?
Here’s the harsh truth: most exterior paint jobs fail not because of the product—but because of poor preparation. Cracked caulk, dusty siding, hidden mildew, or painting in the wrong weather can turn your “fresh coat” into a disaster-in-the-making.
Prepping your home’s exterior the right way is not optional—it’s essential.
Whether you’re hiring professionals or taking the DIY route, this article is your ultimate step-by-step checklist to ensure that your exterior paint job not only looks amazing—but lasts for years, even under the hot Texas sun or unpredictable Midwest storms.
Let’s dig in.
✅ Why Proper Preparation Is Critical
Painting is 30% application, 70% preparation.
Without solid prep:
- Paint won’t adhere properly
- You’ll trap dirt, moisture, and mold under the finish
- You risk bubbling, cracking, or peeling within months
- You could void product warranties
- You’ll end up repainting—and spending—all over again
🧰 Step-by-Step Checklist to Prep Your Home for Exterior Painting
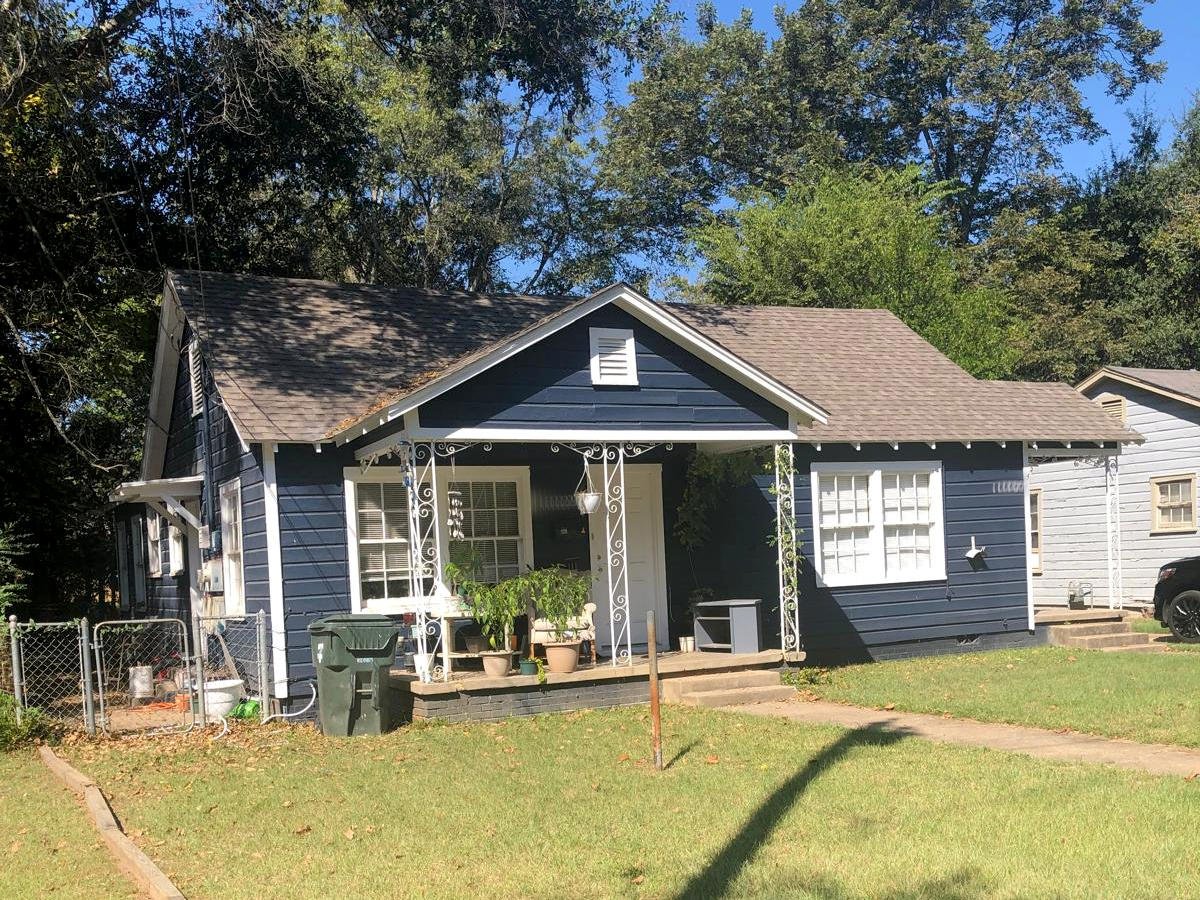
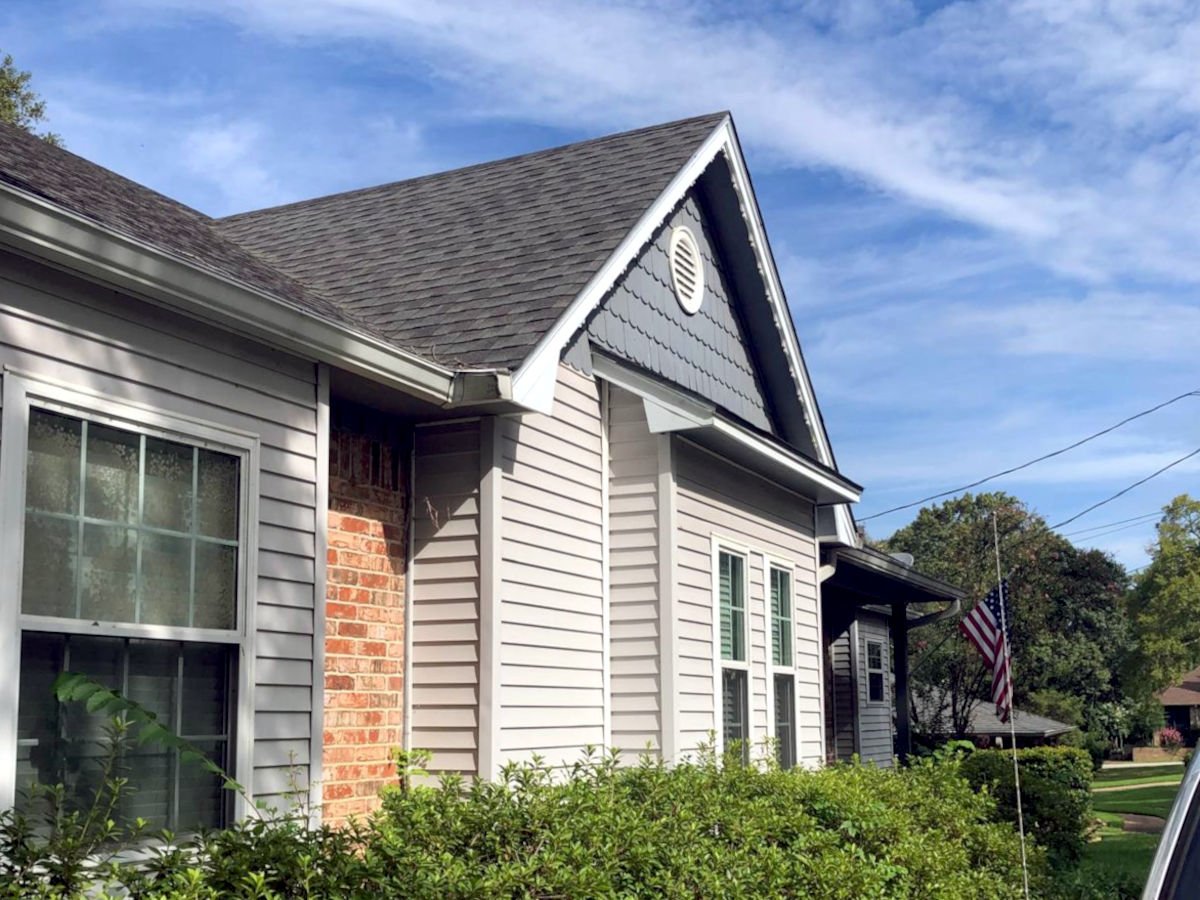
1. Inspect the Exterior Thoroughly
Walk around your house and look for signs of damage, such as:
- Peeling or bubbling paint
- Water stains
- Mold, mildew, or algae
- Cracks in the siding
- Rotten wood or deteriorated trim
- Loose gutters or shutters
🟢 Pro Tip: Use your phone to take pictures of areas that need repair or attention.
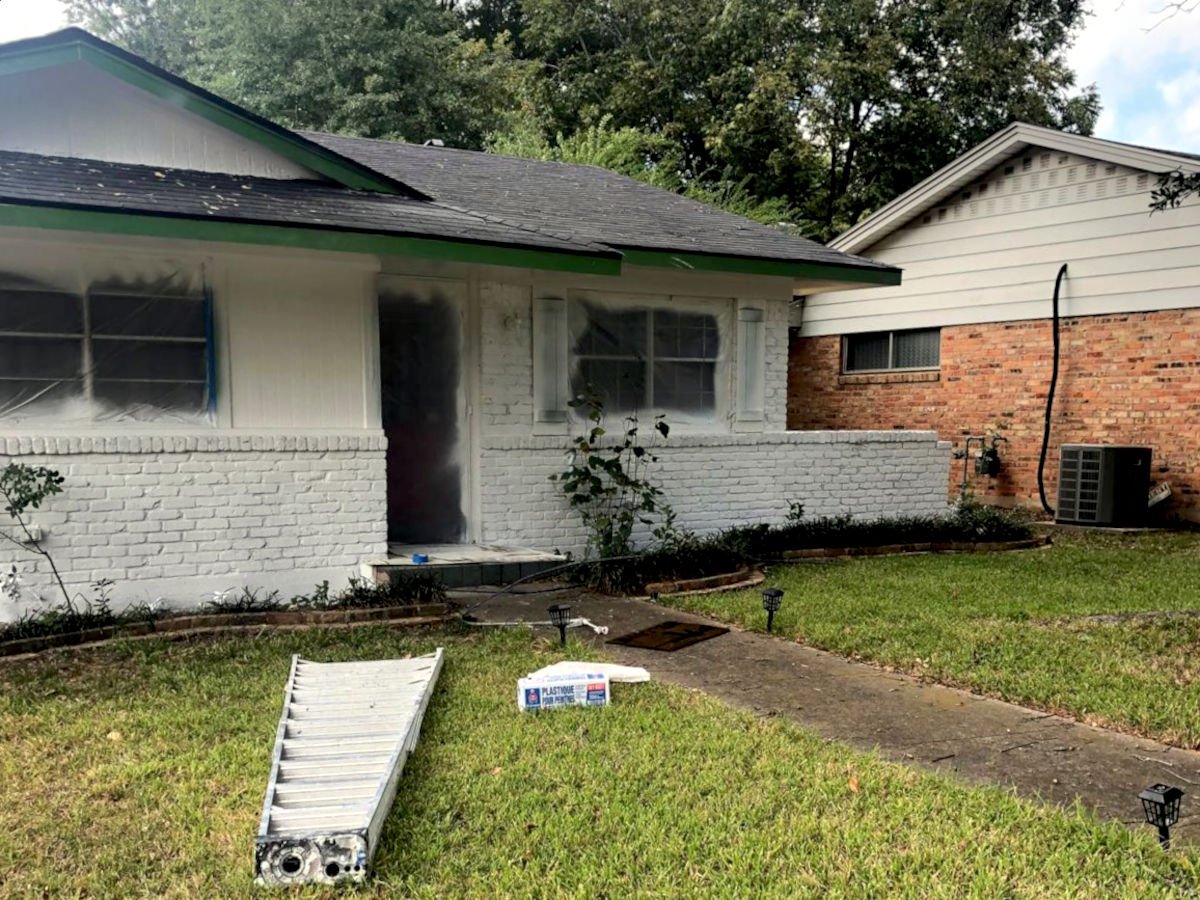
2. Wash the Surfaces (Pressure Washing)
Dirt, pollen, mold, and grease will prevent paint from adhering.
Use a pressure washer (2,000–3,000 PSI) or a hose with scrub brushes to remove:
- Mildew
- Cobwebs
- Flaking paint
- Dust and grime
🧽 Add mildew-killing detergent to the mix for best results.
Let everything dry for at least 24–48 hours before moving forward.
3. Scrape Off Loose or Flaking Paint
Once dry, use:
- A paint scraper
- Wire brush
- Or power sander
To remove any paint that’s:
- Chipping
- Cracking
- Bubbling
⚠️ Note: If your home was built before 1978, test for lead paint and use proper containment and safety gear.
4. Sand Rough Areas
Smooth out any uneven patches where paint was removed.
Use:
- 80 to 100-grit sandpaper
- Orbital or palm sander for large areas
🎯 Goal: Create a clean, slightly rough surface to help the new paint grip better.
5. Repair Damaged Surfaces
Patch up:
- Rotten wood: Replace it
- Cracks in stucco: Use masonry patching compound
- Holes in siding: Use exterior-grade filler or epoxy wood filler
🔧 Don’t forget to caulk joints and gaps around windows, doors, and trim using paintable exterior caulk.
6. Protect Landscaping and Fixtures
Before painting:
- Cover bushes, flowerbeds, and decks with drop cloths or plastic sheeting
- Remove or mask off:
- Light fixtures
- House numbers
- Mailboxes
- Vents
- Outdoor furniture
🎯 Tape off windows and trim with exterior-grade painter’s tape to avoid overspray or drips.
7. Prime Where Necessary
Prime if:
- You repaired bare wood or patched areas
- You’re changing from dark to light colors
- You’re painting over stained or chalky surfaces
Use a high-quality, stain-blocking exterior primer compatible with your paint (latex or oil-based).
8. Choose the Right Time and Weather
Avoid painting when:
- Temperatures are below 50°F or above 90°F
- Rain is forecast within 24–48 hours
- Humidity is extremely high (can cause blistering)
✅ Best conditions: Dry, overcast days with moderate temperatures
🕓 Timeline for Exterior Painting Prep
| Task | Time Estimate |
|---|---|
| Inspection | 1–2 hours |
| Pressure washing | 2–4 hours |
| Drying time | 24–48 hours |
| Scraping & sanding | 4–10 hours |
| Repairs & caulking | 1–2 days |
| Priming (if needed) | 1–2 days |
| Total prep time | 3–6 days (average) |
🧠 Don’t Forget: Common Mistakes to Avoid
- Skipping the pressure wash — traps debris under the paint
- Caulking over moldy or wet areas — leads to cracking
- Painting over dirty siding — results in fast peeling
- Not allowing proper drying time — ruins adhesion
- Using indoor caulk/primer outside — won’t weather the elements
🛠️ DIY vs. Professional Prep: What’s Best?
DIY is cheaper but labor-intensive and risky if you skip a step.
Hiring professionals ensures faster, safer, and longer-lasting results.
Pro tip: If you’re in Texas or southern states, heat and UV exposure are extra punishing—so professional prep becomes even more critical.
✅ Conclusion: Prep Like a Pro, Paint Like a Master
Your paint is only as strong as the surface it clings to.
If you want curb appeal that lasts, prevent premature peeling, and protect your biggest investment—take prep seriously. Follow this checklist and save yourself time, money, and frustration for years to come.
🔜 Related Articles You Should Definitely Read
- “Exterior Painting in Texas: Best Seasons and Weather Tips”
Because painting in August heat or spring humidity can ruin your finish. - “The Ultimate Guide to Choosing Exterior Paint Colors That Boost Curb Appeal”
How color psychology, resale value, and architecture play together. - “Paint or Replace? When Your Home Needs More Than a Coat”
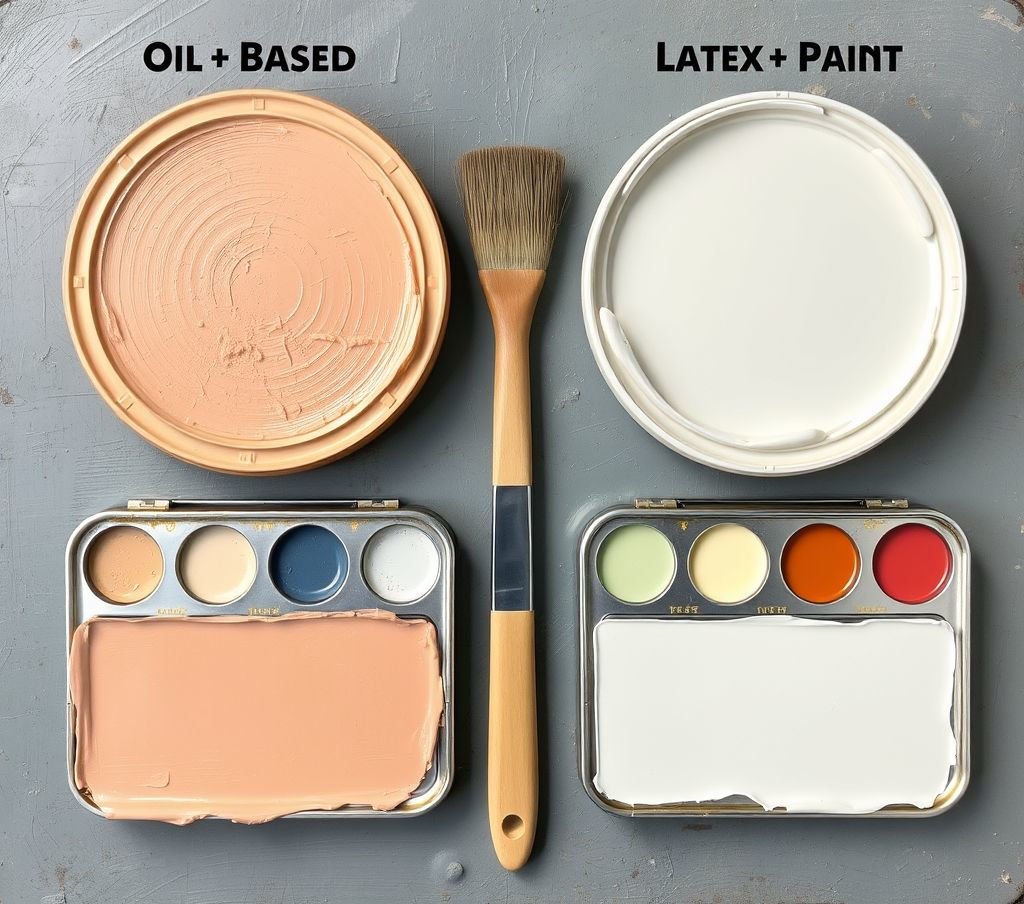
Knowing when it’s too late for paint and time for siding replacement. - “Oil-Based vs. Latex Exterior Paint: Pros, Cons & Best Uses”
A practical comparison to choose durability and performance. - “How Long Does Exterior Paint Last? (And How to Extend It)”
Lifespan by material, climate, and maintenance.
Pingback: Exterior Painting