

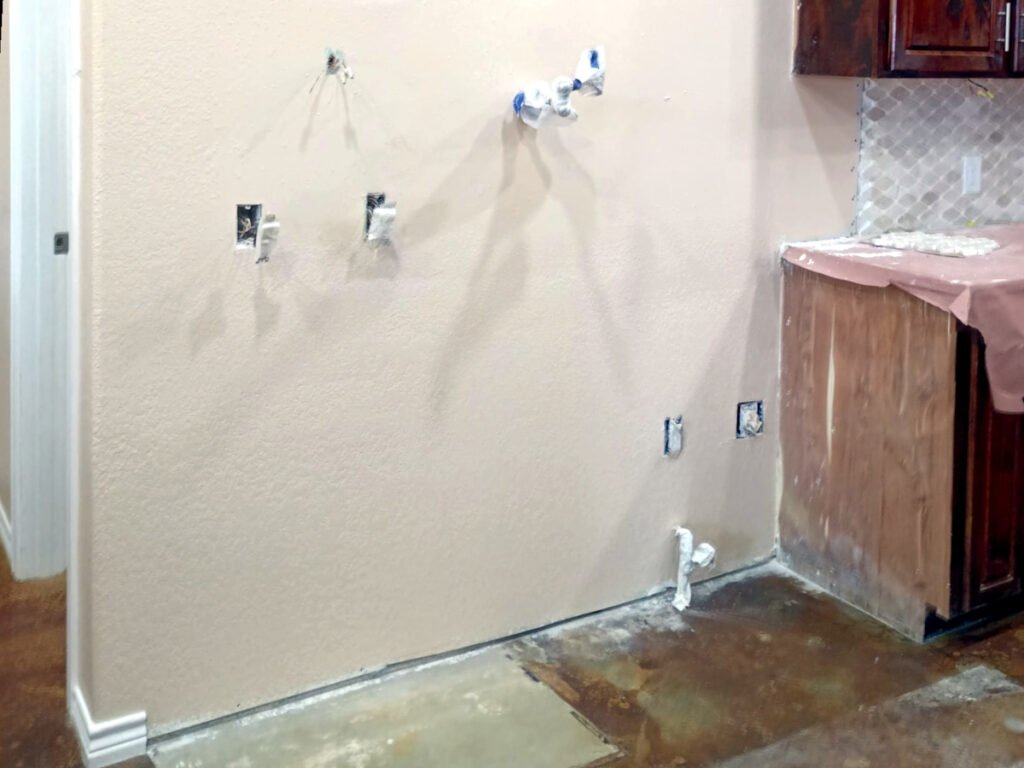
Got a dent, crack, or hole in your wall? You’re not alone. Minor sheetrock damage is one of the most common issues homeowners face in Tyler, TX—whether it’s from moving furniture, door handles, kids, or general wear and tear.
The good news? Patching sheetrock is easier than it looks. With the right tools and techniques, you can repair small holes in drywall and restore your wall to a smooth, paint-ready surface. And if it turns out to be more than you expected, our local experts are just a call away.
What Causes Damage That Requires Patching?
Before we dive into patching up drywall, let’s talk about what causes it in the first place. Some of the most common culprits behind sheetrock damage include:
- Doorknobs slamming into the wall
- Accidental furniture bumps
- Nails or screws removed from hanging items
- Kids or pets being… well, kids or pets
- Settling foundation causing hairline cracks
- Minor plumbing or electrical fixes
These small issues may not seem like much, but if you don’t patch them properly, they can show through paint, grow into bigger problems, or make your home look worn out.
Tools & Materials Needed for Patching Sheetrock
Before you start, gather everything you’ll need to patch a sheetrock hole the right way:
- ✅ Joint compound (pre-mixed is easiest)
- ✅ Putty knife (4–6 inches wide)
- ✅ Sanding sponge (fine grit 120–220)
- ✅ Drywall patch (for holes 1″ to 4″)
- ✅ Mesh tape (for jagged edges or hairline cracks)
- ✅ Primer and paint
- ✅ Drop cloth or painter’s tape
Optional tools:
- Utility knife
- Texture spray (if your wall is textured)
Step-by-Step Guide to Patching a Small Hole in Drywall
Whether it’s a dent or a small hole, this process will help you patch it cleanly and confidently.
1. Clean the Area

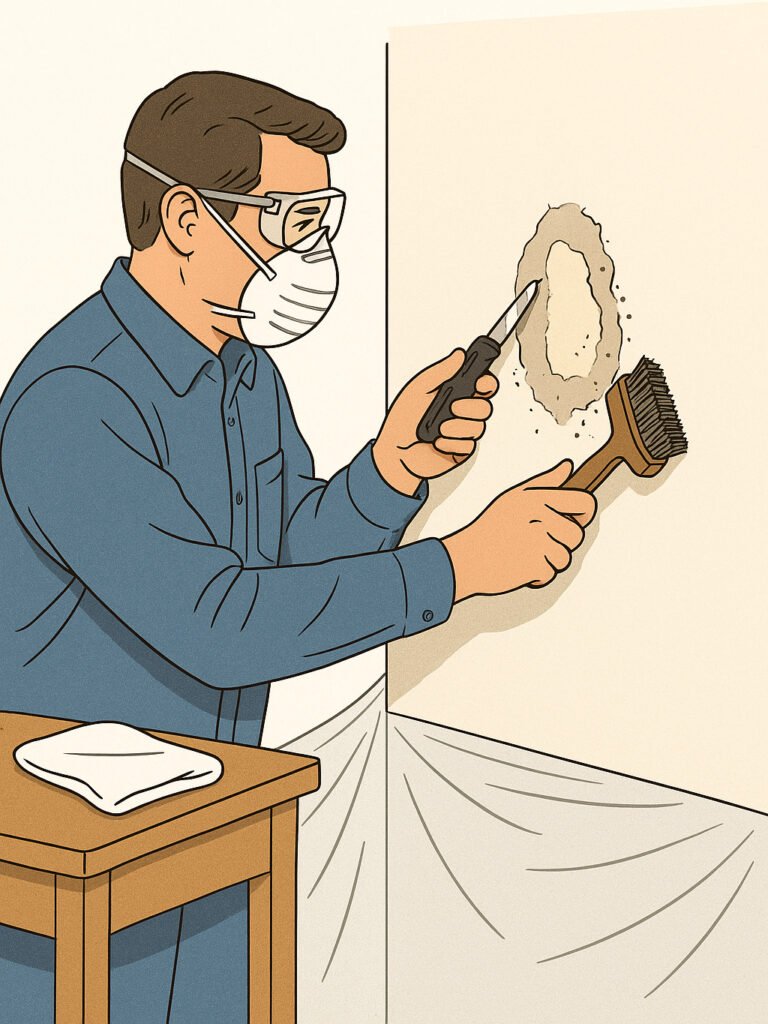
Wipe down the area and remove any loose debris or crumbling drywall with a utility knife.
To effectively wipe down the area and remove loose debris or crumbling drywall, you’ll want to:
- Protect the surrounding area: Lay down a drop cloth or plastic sheeting on the floor and cover any nearby furniture to protect them from dust and debris.
- Gather your tools: You’ll need a utility knife, a stiff brush (like a wire brush or an old paintbrush), and a damp cloth or sponge.
- Scrape away loose material: Using your utility knife, carefully cut away any crumbling or loose drywall. Make sure to cut clean edges around the damaged area.
- Brush away debris: Use the stiff brush to remove any remaining loose bits of drywall, dust, or other debris from the area you’re patching.
- Wipe down the area: Dampen a cloth or sponge with water and wipe down the area thoroughly. This will remove any lingering dust and create a clean surface for your patch to adhere to. Let it dry completely before proceeding with patching.
Remember to wear a dust mask and safety glasses, as drywall dust can be irritating.
2. Apply Patch (If Needed)

Here’s a breakdown of how to apply the patch and what to consider:
For holes larger than a quarter (or significant damage around electrical boxes/pipes):
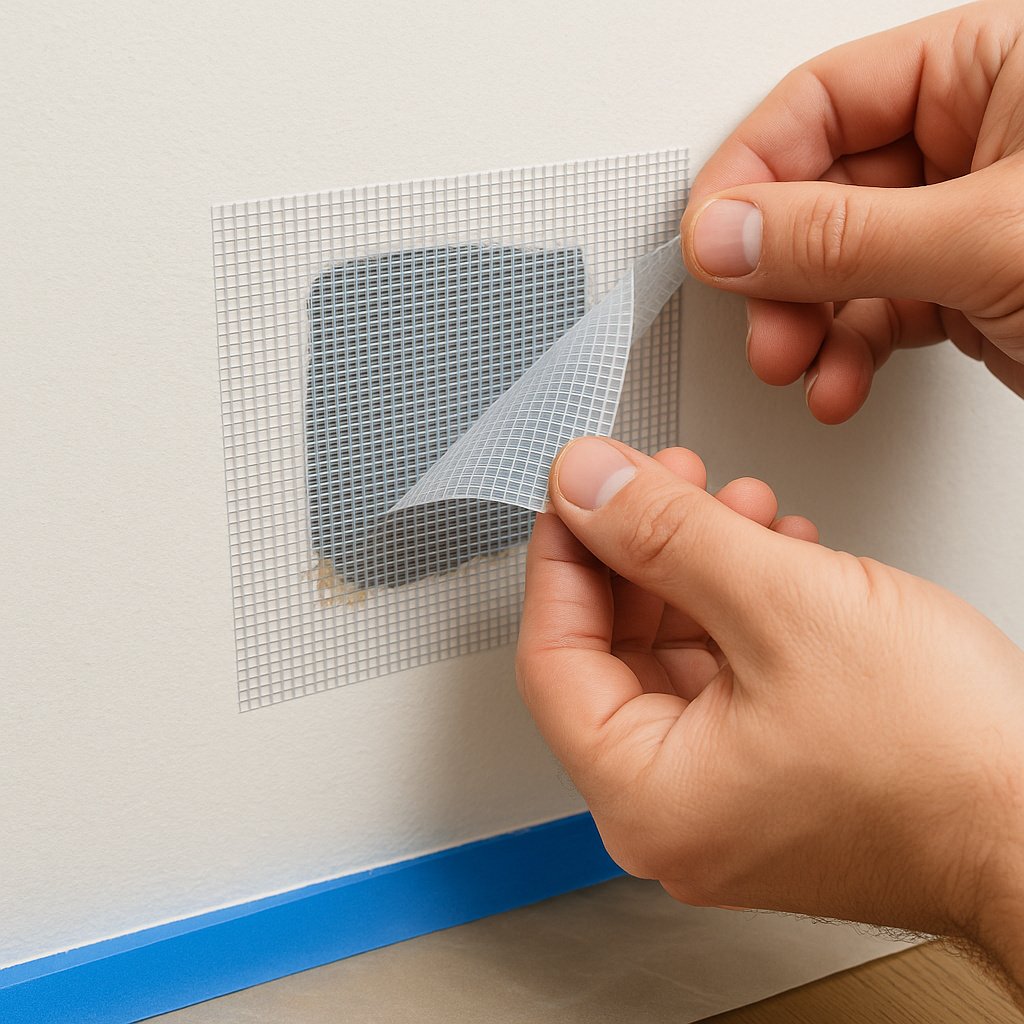
- Choose the right size patch: Self-adhesive mesh patches come in various sizes. Select one that extends at least an inch beyond the edges of the hole in all directions.
- Peel and stick: Remove the backing from the self-adhesive mesh patch and center it over the hole, pressing it firmly onto the clean, dry drywall. Make sure it’s flat and smooth, with no bubbles or wrinkles.
3. Add Joint Compound
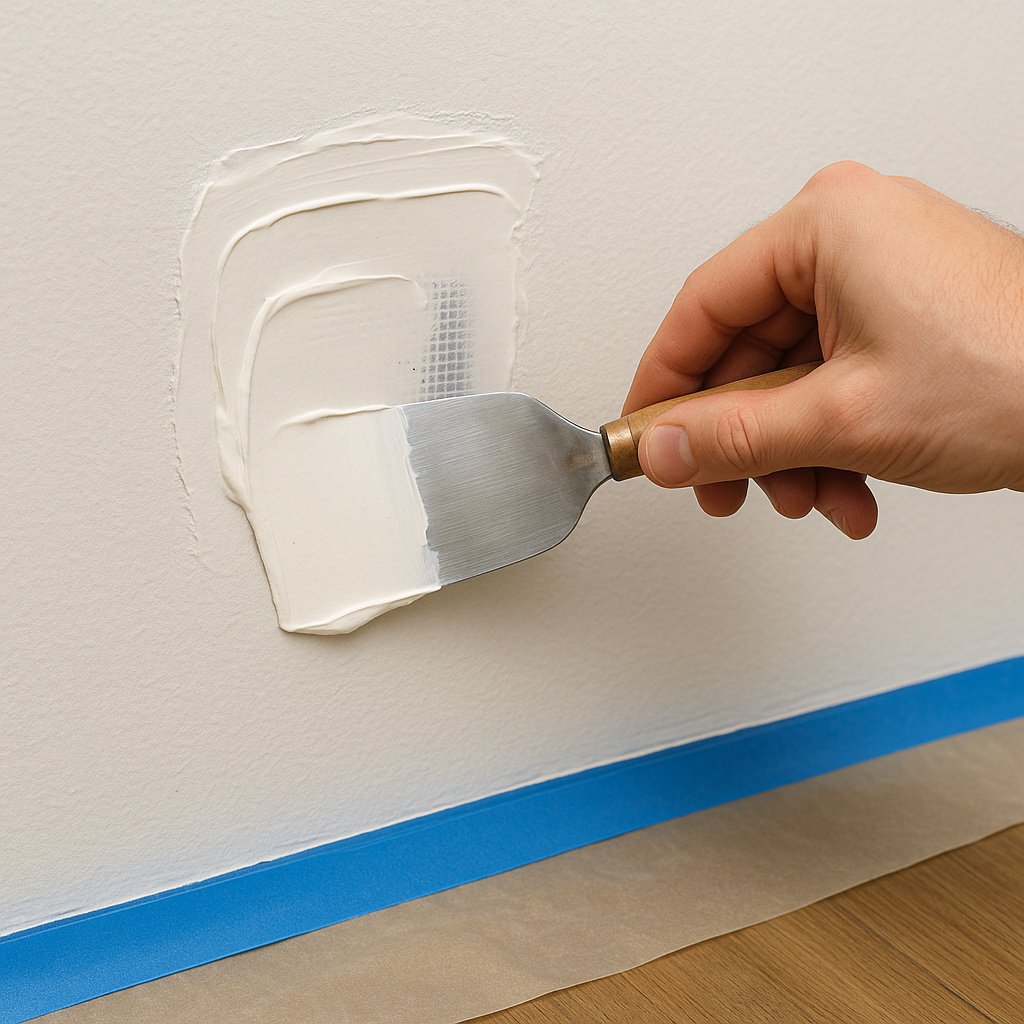
Here’s how to effectively apply the joint compound over the hole or patch:
- Load your knife: Scoop a modest amount of joint compound onto one edge of your putty knife (a 6-inch knife is often ideal for this, but use what you have). Don’t overload it; you want control.
- Apply over the patch/hole:
- If you used a mesh patch: Center your knife over the patch. Apply a thin, even layer of joint compound, pressing firmly enough to force the compound through the mesh and into any underlying gaps.
- If you’re filling a small hole: Simply spread the compound directly over the hole.
- Feather the edges: This is the most important part for a professional finish.
- Start at the center of the patch/hole and pull the knife outwards, gradually reducing the pressure as you move away from the repair.
- The goal is to create a slightly wider area of joint compound that is thickest over the repair and gets progressively thinner as it reaches the existing wall. This “feathers” the edge, making it blend in.
- Wipe off any excess compound from your knife frequently and put it back into your compound bucket.
- Achieve a smooth, thin layer: Your first coat doesn’t need to be perfect, but aim for it to be as smooth and thin as possible. Avoid leaving large ridges or globs of compound, as these will be harder to sand later.
Important considerations:
- Thin coats are key! It’s always better to apply two or three thin coats than one thick coat. Thick coats take forever to dry, are prone to cracking, and are much harder to sand smooth.
- Keep your knife clean: A clean knife makes for a smoother application.
- Angle of the knife: Hold your putty knife at about a 30-degree angle to the wall. This helps in both applying and feathering the compound.
4. Let It Dry
Allow the joint compound to dry completely.
Here’s why this is so important and what to keep in mind, especially in Tyler, Texas:
- Why it’s crucial:
- Cracking: If you apply a second coat or sand before the first coat is fully dry, the moisture trapped underneath can cause the compound to shrink and crack as it continues to dry.
- Adhesion: Subsequent layers of compound, primer, and paint won’t adhere properly to damp compound, leading to peeling or bubbling.
- Sanding difficulties: Wet or damp compound gums up sandpaper, making it impossible to get a smooth finish.
- Typical Drying Time:
- The 4-6 hours you mentioned is a good general guideline for thin coats. However, this can vary wildly.
- Current conditions (summer in Tyler, TX): It’s summer, and humidity levels can be quite high. High humidity significantly slows down drying time. If your house is air-conditioned and kept dry, it might dry faster. If it’s humid inside, it could take much longer.
- How to tell it’s dry:
- Color change: Wet joint compound is usually a light gray or off-white. As it dries, it will become a uniform, bright white.
- Firmness: It should feel hard and solid to the touch, not cool or damp.
- No dark spots: Look for any darker, damp spots, especially in the center of thicker applications. These indicate it’s still wet underneath.
- Tips for faster drying (if needed, but don’t force it):
- Good ventilation: Open windows (if humidity outside isn’t too high) or use a fan to circulate air in the room. This helps evaporate moisture.
- Dehumidifier: If you have a dehumidifier, running it in the room will dramatically speed up drying in humid conditions.
- Avoid heaters: While heat can dry things, applying direct, intense heat to joint compound can cause it to dry too quickly on the surface, leading to cracking underneath. Gentle air circulation is better.
Your best bet is to check it after 4-6 hours, but don’t hesitate to wait longer (even overnight) if it still feels damp or looks uneven in color. Patience here will save you headaches later!
5. Sand Smooth
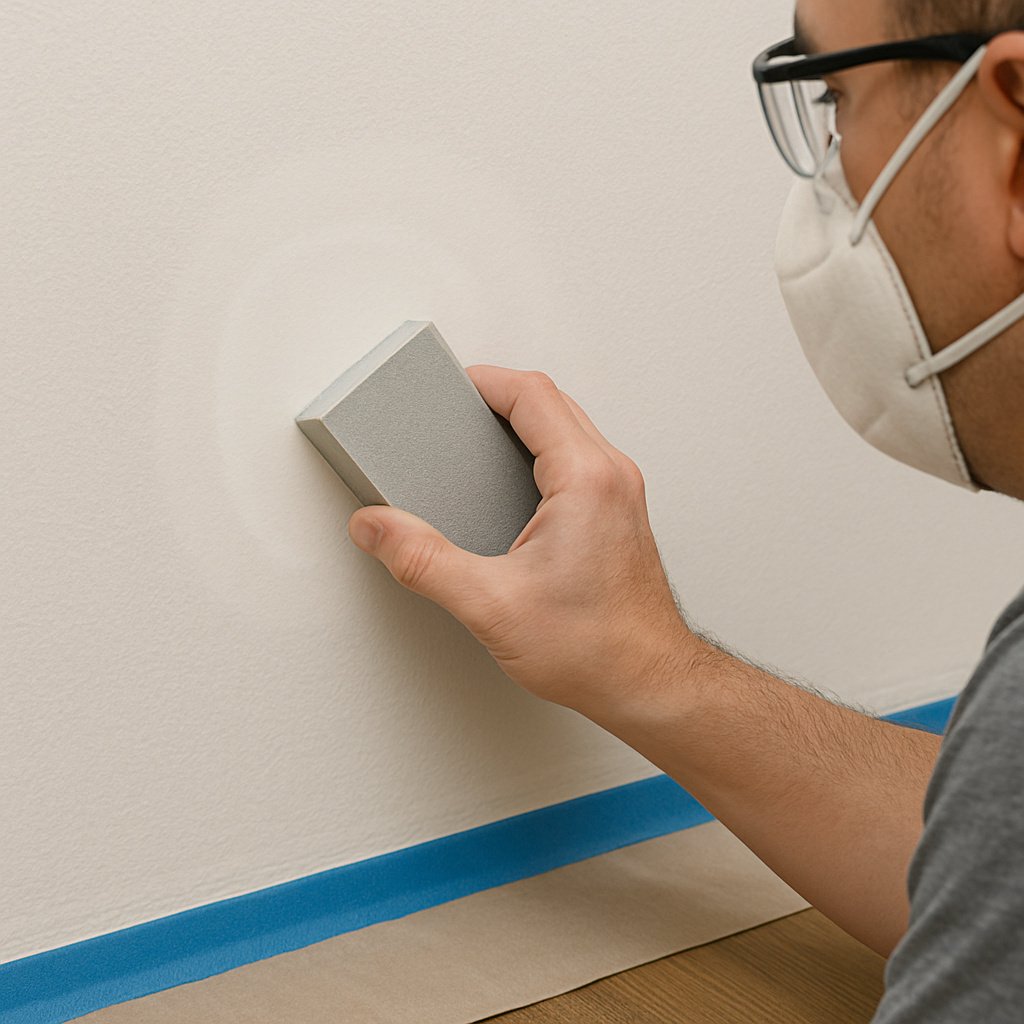
Here’s how to effectively sand the area smooth, keeping in mind the need for a seamless finish:
- Choose the right sandpaper:
- Start with medium-grit (120-150 grit) sandpaper for the initial shaping and removing any small ridges.
- Finish with fine-grit (180-220 grit) sandpaper for a super smooth, blended finish.
- Sanding sponge or pole sander: For larger areas, a sanding sponge or a pole sander (for walls) can make the job easier and help maintain an even surface.
- Protect yourself and the area:
- Wear a dust mask and safety glasses. Drywall dust is very fine and can irritate your lungs and eyes.
- Cover the floor and nearby items with drop cloths, as sanding creates a lot of fine dust.
- Gently sand the area:
- Use light pressure and a circular or back-and-forth motion, focusing on the edges of the patch first to feather them into the existing wall.
- Feathering is key: The goal is not just to make the patch flat, but to seamlessly blend its edges into the surrounding wall. Avoid creating depressions in the center of the patch.
- Check often: Run your hand over the sanded area frequently. Your fingertips are very sensitive and can feel imperfections (bumps or dips) that your eyes might miss.
- Wipe away dust:
- Once you’re satisfied with the smoothness, use a damp (but not wet!) cloth or sponge to wipe down the entire patched area. This removes all the fine dust, which is crucial for the next step (priming/painting) for proper adhesion.
- Let the area dry completely after wiping before moving on.
Important Considerations:
- Less is more with sanding: It’s easier to apply a thin second coat of joint compound than to try and over-sand away a thick first coat.
- Don’t over-sand: Be careful not to sand through the mesh patch (if you used one) or past the joint compound down to the original drywall, especially around the edges.
- Lighting: Use a good light source, like a work light held at an angle to the wall, to reveal any imperfections (shadows will highlight them) as you sand.
After sanding and wiping away the dust, the area should be perfectly smooth and ready for priming and painting. If you still feel any slight imperfections, you might want to apply another very thin coat of joint compound, let it dry, and then sand again.
6. Repeat If Needed
for many drywall repairs, especially those involving deeper holes, textured surfaces, or simply achieving a perfectly seamless finish, a second (or even third) thin coat of joint compound is often necessary.
Here’s why repeating the process is so effective:
- Filling Imperfections: The first coat primarily fills the main hole or covers the mesh patch. It’s common for slight depressions, minor ridges, or small air bubbles to appear after the first coat dries and shrinks slightly. A second thin coat allows you to fill these in and correct any imperfections.
- Achieving Smoothness: Even with careful sanding, getting a perfectly flush and imperceptible transition from the patch to the existing wall can be tricky with just one layer. A second (or third) feathered coat makes it much easier to achieve that truly smooth, blend-in finish.
- Better Blending: When you feather the edges with subsequent coats, you’re effectively spreading the transition zone out over a larger area, making the repair virtually invisible once painted.
When to repeat:
- If you can still see or feel the patch: After the first coat is sanded, if you can still discern the outline of the mesh patch, or if the area feels slightly recessed or bumpy compared to the surrounding wall, a second coat is definitely needed.
- Deeper repairs: If the initial damage was significant, it’s almost guaranteed you’ll need multiple layers.
- For a truly professional finish: Even if the first coat looks “good enough,” a second, very thin and wide feathered coat will elevate the repair to an “invisible” level.
7. Prime & Paint
Here’s how to ensure a flawless finish:
For Smooth Walls (or after texturing for textured walls):
- Apply Primer:
- Why prime? Primer is crucial over patched drywall because joint compound is very porous and absorbs paint differently than the surrounding drywall. Without primer, you’ll likely see a dull, flat spot (called “flashing”) where the patch is, even after multiple coats of paint. Primer creates a uniform surface for the paint to adhere to and ensures an even sheen.
- Type of Primer: Use a good quality PVA (polyvinyl acetate) drywall primer or a stain-blocking primer. PVA primers are designed for new or patched drywall. Stain-blocking primers are good if there were any water stains or other potential bleed-through issues in the original damage.
- Application: Apply a thin, even coat of primer over the entire patched area, extending slightly beyond it onto the existing wall. You can use a brush or a small roller, depending on the size of the patch. Allow the primer to dry completely according to the manufacturer’s instructions (usually 1-2 hours).
- Apply Paint:
- Matching Paint: Ensure you have the exact matching paint for your wall. If you don’t have the original can, you might need to take a small chip of paint from an inconspicuous area of the wall to a paint store for color matching.
- Application: Apply your wall paint in thin, even coats. For small patches, you might be able to “spot paint” just the primed area, feathering the edges. For larger patches, or if the wall is older and the paint has faded, you might need to paint the entire wall from corner to corner to ensure an even color and sheen.
- Multiple Coats: Most paints will require at least two coats for full coverage and color depth, especially over a primed patch. Allow each coat to dry completely before applying the next.
For Textured Walls (Crucial Step Before Priming):
- Apply Texture Spray:
- Purpose: This step is essential for textured walls. If you just prime and paint over a smooth patch on a textured wall, the repair will stick out like a sore thumb. Texture spray (also called “aerosol texture” or “patch texture”) is designed to mimic common wall textures like orange peel, knockdown, or popcorn.
- Choosing the right texture: Look for a texture spray that matches your existing wall texture. You may need to practice on a scrap piece of cardboard first to get the feel for the spray pattern and distance.
- Application: Shake the can well. Hold the can at the recommended distance (usually 12-24 inches) from the wall. Apply in light, sweeping motions, building up the texture gradually until it blends with the surrounding wall. Do not over-apply in one spot! It’s better to do multiple light passes.
- Dry Time: Let the texture dry completely. This can take anywhere from 30 minutes to several hours, depending on the thickness and humidity.
- Lightly Sand (If Needed for Texture):
- For some textures (like knockdown), you might need to very lightly “knock down” any peaks with a drywall knife or sanding sponge once the texture is almost dry but still slightly pliable. For orange peel, usually no sanding is needed.
- If you apply too much texture, you might need to lightly sand it with very fine grit sandpaper to reduce its prominence, but be careful not to remove it entirely.
- Prime & Paint (as described above): Once the texture is dry and satisfactory, proceed with priming and painting over the textured patch. The primer will seal the texture and prepare it for paint.
By following these steps, your patched drywall will truly become invisible, making your repair a complete success!
When to Call a Drywall Repair Expert
If you’re dealing with:
- A hole larger than 4 inches
- Wall damage with signs of water or mold
- Textured walls you can’t replicate
- Cracks that keep coming back
- A whole section that feels weak or hollow
…it may be time to call a professional.
At Jaime’s Construction & Remodeling, we specialize in drywall and sheetrock repair in Tyler, Whitehouse, Lindale, Flint, and nearby East Texas communities. We handle everything from patching to full replacements—clean, fast, and done right the first time.
Need Help in Tyler? Get Fast, Clean Sheetrock Repairs
📞 Call 903‑245‑5824 today for expert help patching sheetrock in your home. Whether it’s a small cosmetic fix or something more serious, we’re here to make your walls look like nothing ever happened.
✅ Free estimates
✅ Fast service in Tyler, TX
✅ Quality workmanship you can trust
Let’s patch it up the right way. Contact us.