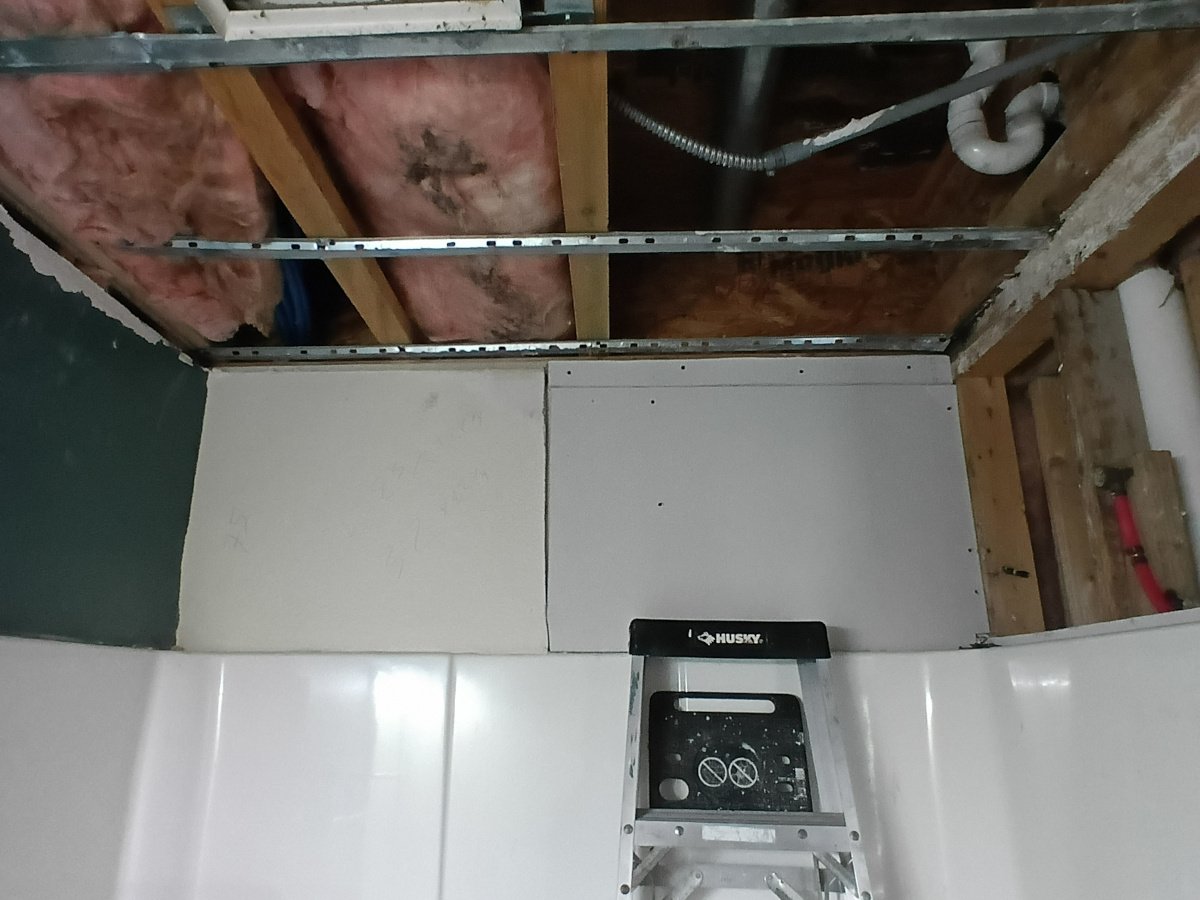
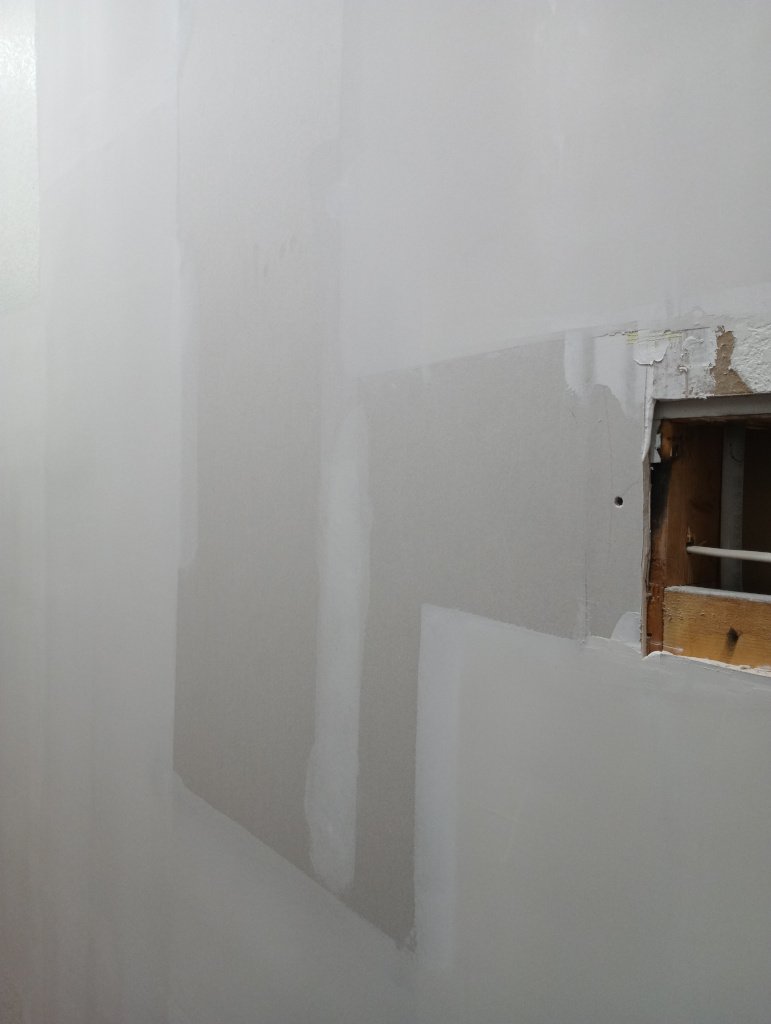
Why Is Matching Drywall Texture So Difficult?
Let’s be honest—patching drywall is the easy part. The real challenge comes when you try to replicate the texture so that it blends seamlessly with the rest of the wall or ceiling. This is where most DIY repairs fall short. You can sand, prime, and paint, but if the texture doesn’t match, it will scream, “This wall was repaired.”
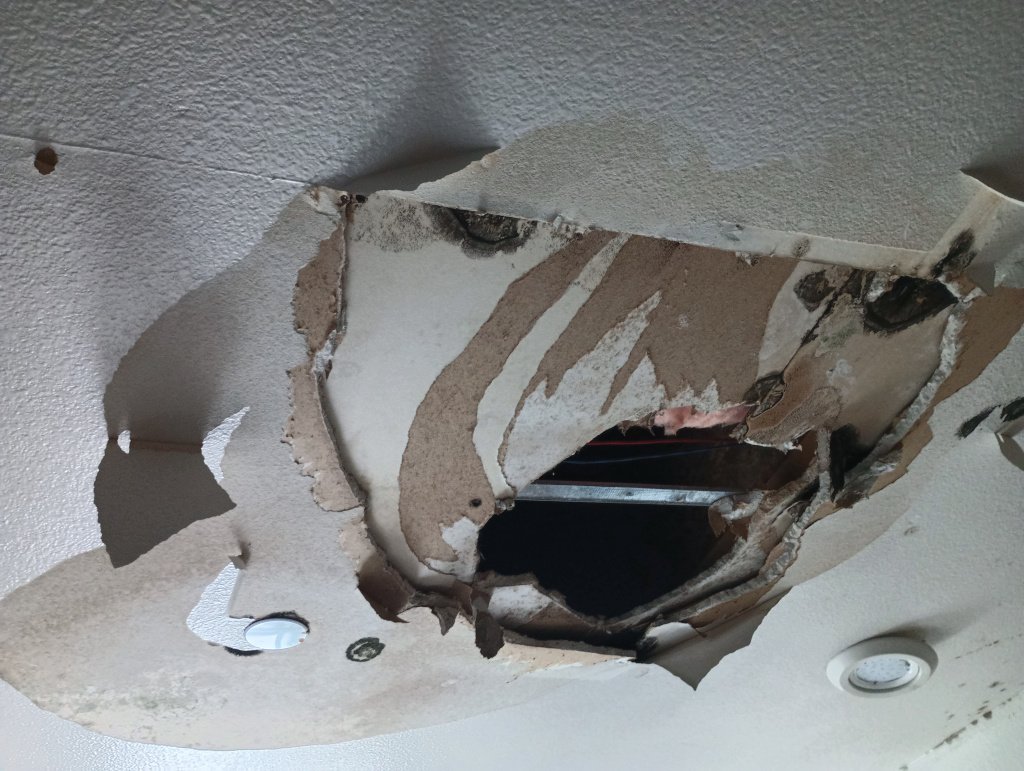
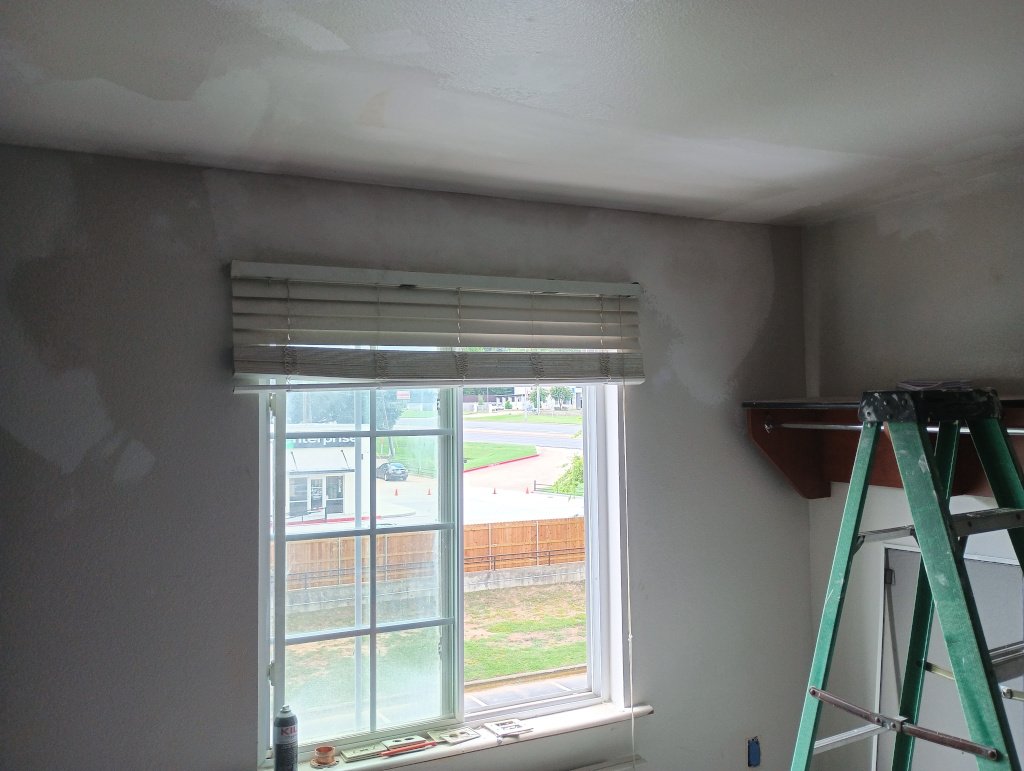
In our case, we constantly deal with customers who need small or large drywall repairs—either from water damage, accidents, or renovations. That’s when our professional team steps in, and we don’t just replace the sheetrock. We replicate the texture and color to match the original. Most of the time, our clients are amazed because it’s impossible to distinguish the repaired area from the rest of the wall.
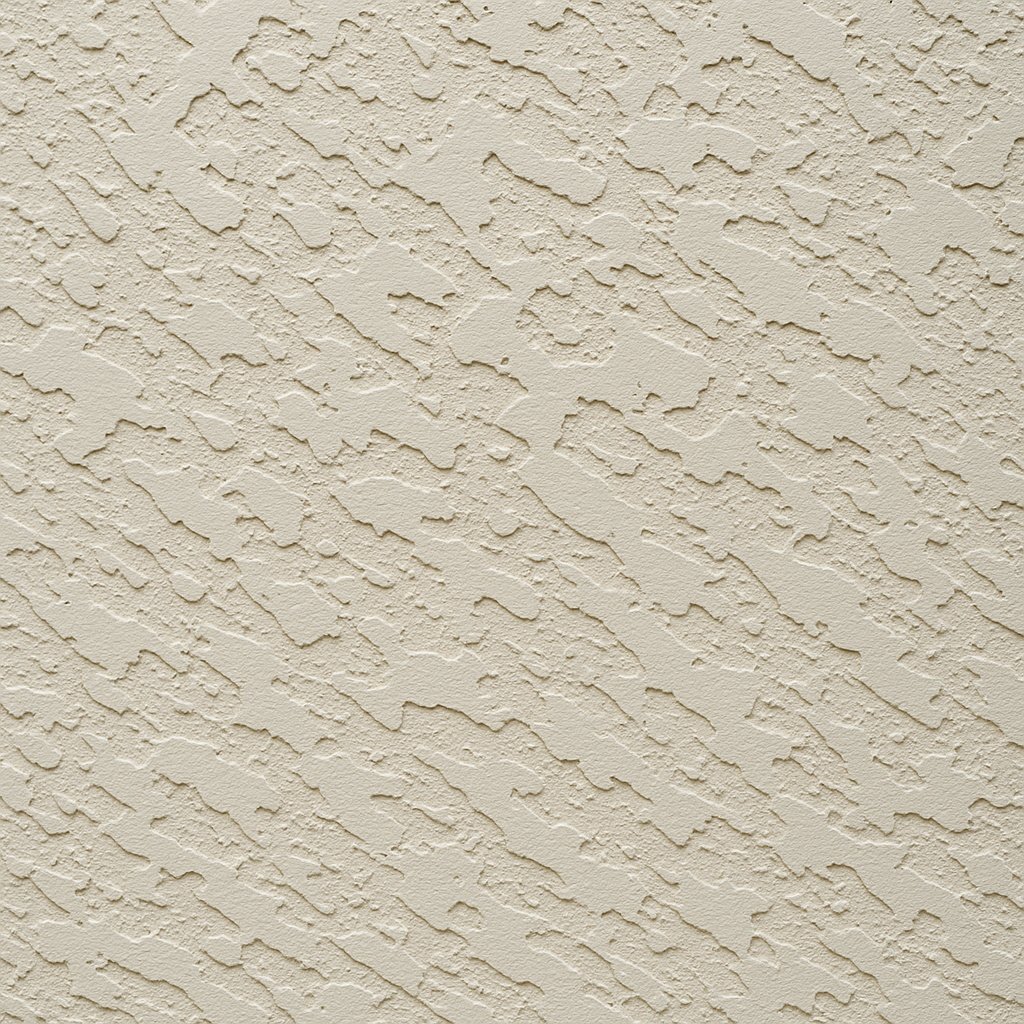
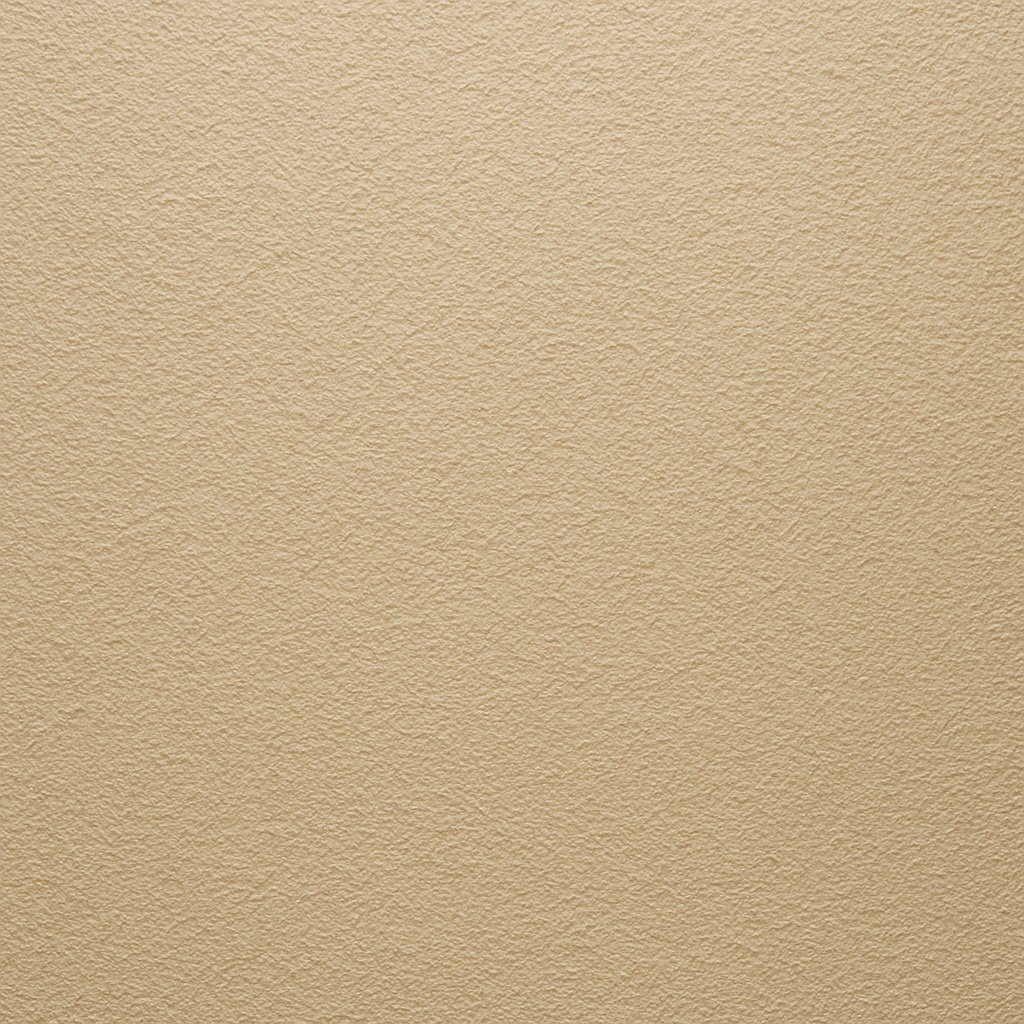
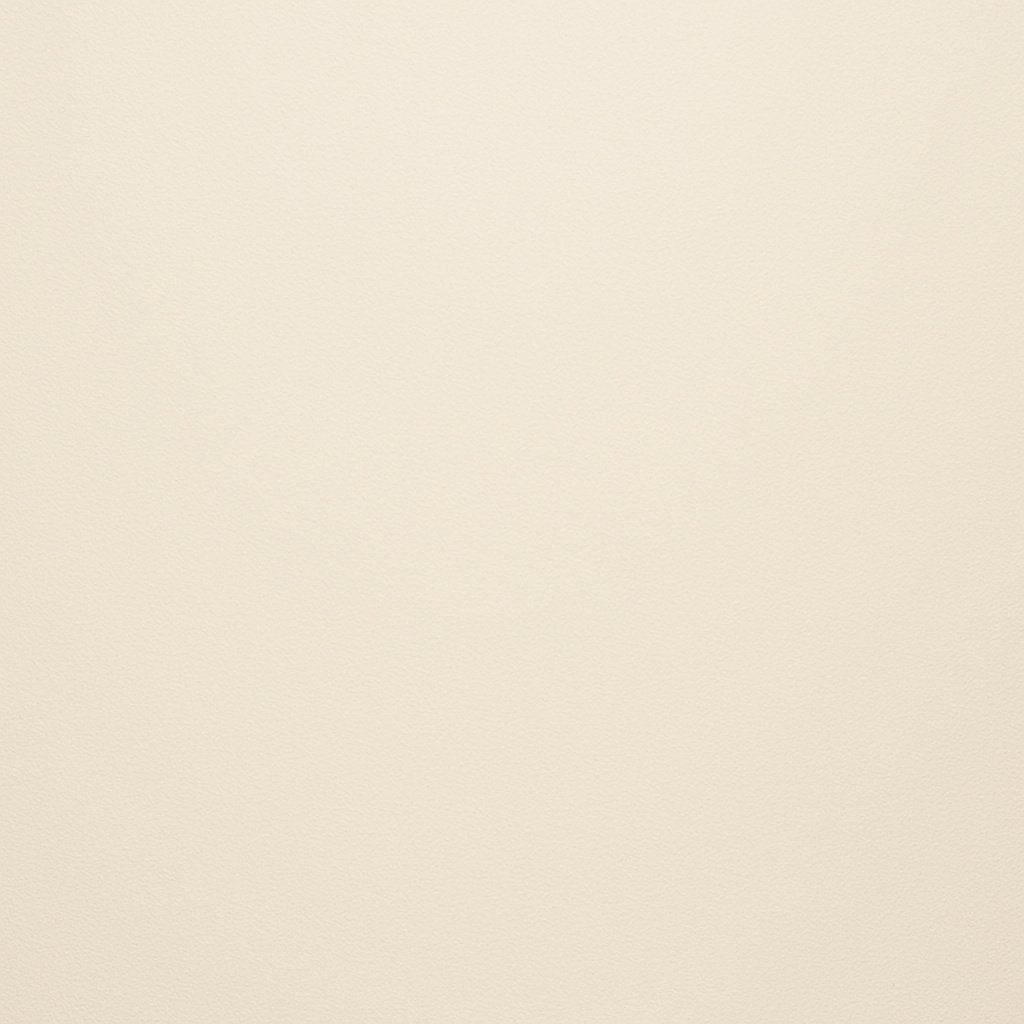
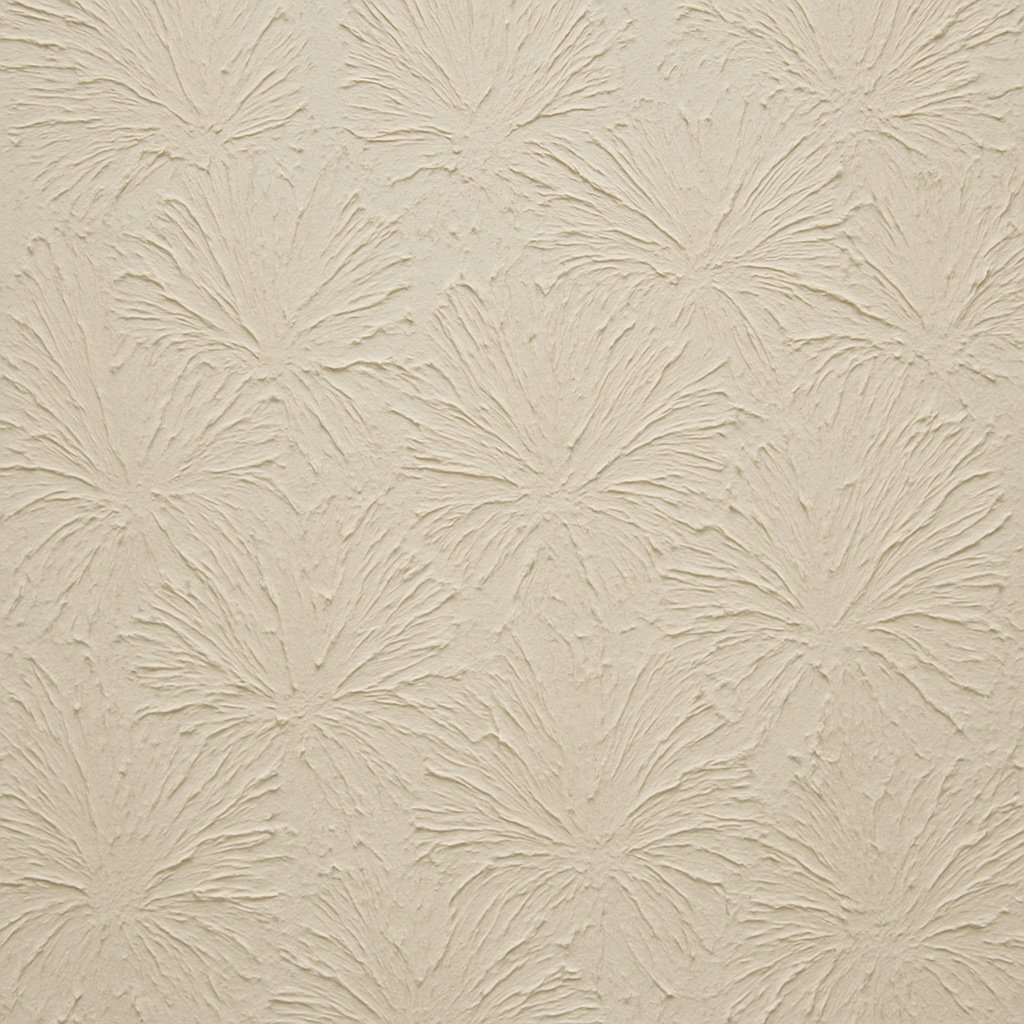
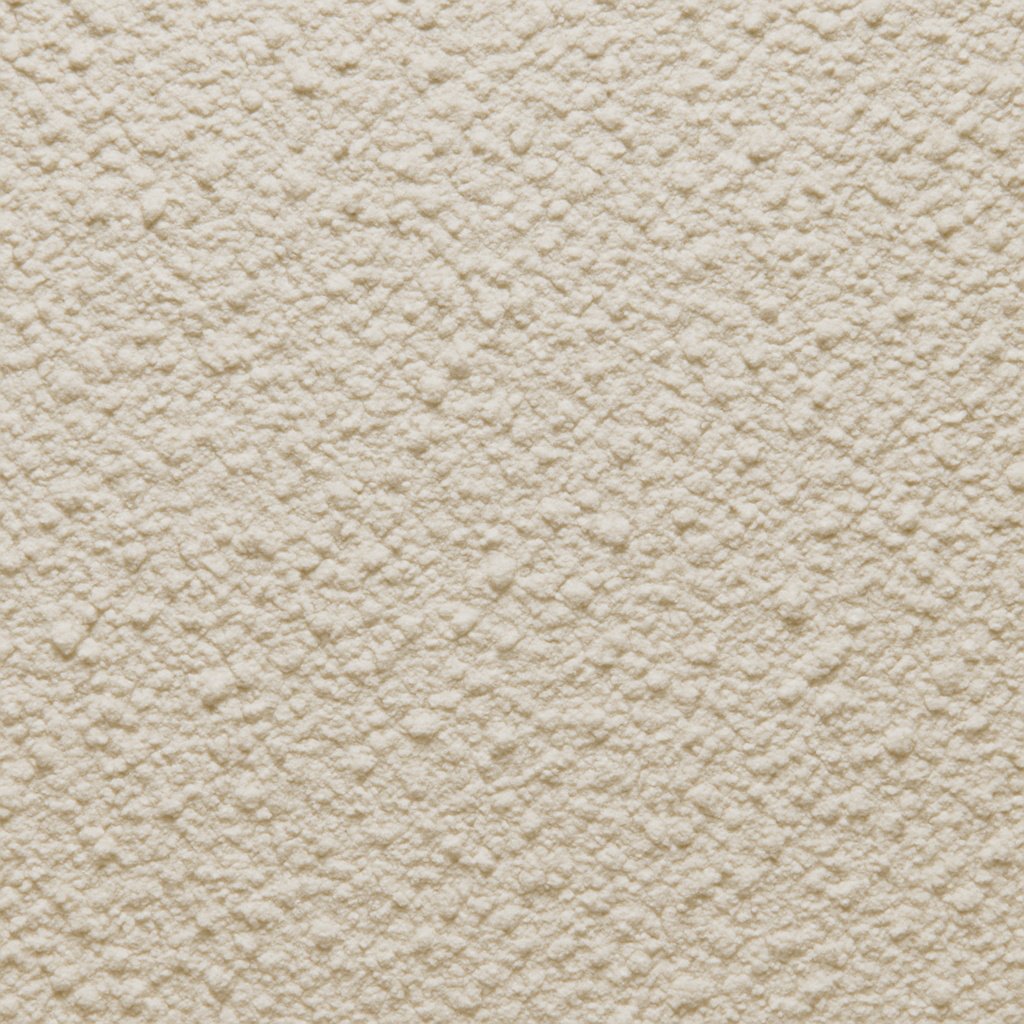
Identifying the existing texture correctly is half the battle when planning your repair.
Tools and Materials You’ll Need for a Seamless Texture Repair
There’s no universal kit, but here’s what we typically use on our jobs:
- Joint compound (“mud”)
- Drywall knife or putty knife
- Texture sprayer or aerosol texture spray
- Knockdown tool or sponge
- Sanding block or sponge
- Primer and matching paint
- Drop cloths and painter’s tape
Sometimes, we use commercial kits like the Pirate Patch knockdown repair tool, especially when we want consistent results for smaller patches. These can be useful for homeowners trying to do it themselves, although we recommend practice before applying on the actual wall.
Preparing the Damaged Area for Texture Application
Preparation is 90% of the work. First, cut out any loose or damaged drywall, making sure your patch is flush with the surrounding area. Apply mesh tape and multiple thin coats of joint compound, letting each coat dry fully. Sand between coats for a smooth finish.
Only once the surface is level and smooth, you can start thinking about the texture.
Again, we’ve had customers come to us after trying to fix it themselves. Once the damage is done, it’s harder to correct. That’s why our team always ensures the surface is ready before even opening the texture bucket.
Techniques to Apply Texture Like a Pro
Here’s where the magic happens. Depending on your texture, you’ll use different techniques:
- Knockdown: Spray mud using a hopper gun or aerosol can. Wait 10-15 minutes, then gently flatten with a drywall knife.
- Orange Peel: Use thinned mud and a fine spray tip. Let it dry naturally—no need to knock it down.
- Slap Brush: Load a brush with joint compound and slap it against the surface to create patterns.
Start with a test board or piece of cardboard. Practice until you can match the look and feel of your existing wall. On our jobs, this practice phase is non-negotiable.
How to Blend the New Texture With the Old
Here’s the part that makes or breaks the repair. Even with the same texture, the transition between old and new has to be invisible.
Use light feathering strokes at the edges, and don’t overload the mud. Sometimes we dilute it slightly to make the edge blend more naturally. You want the new section to fade into the old—not sit on top of it.
This is why most of our clients are surprised when they see the final result. Because you truly can’t tell where the repair begins or ends, especially after paint.
Painting the Repaired Area Without Leaving Marks
Once the texture is dry, apply a stain-blocking primer. This helps unify porosity and ensures paint adheres evenly.
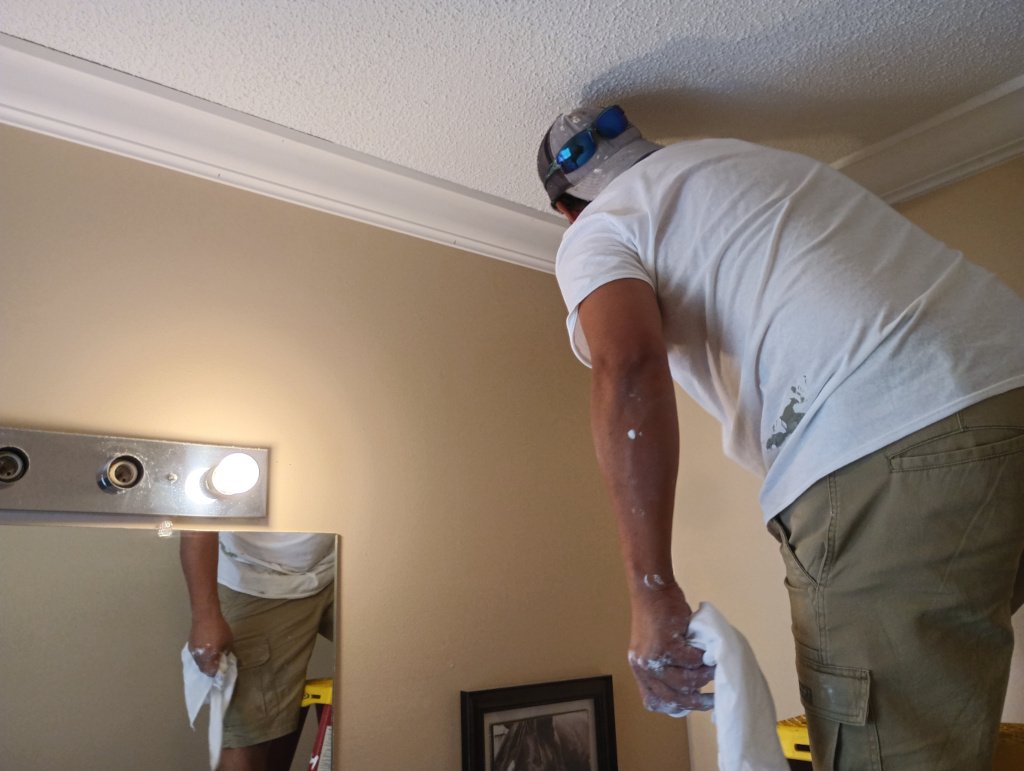
Then, use the exact same paint and sheen as the surrounding wall. If you’re unsure, cut a piece of the wall (if possible) and take it to a paint store for color matching. We use commercial-grade sprayers for the best finish, but a good quality roller can still give great results in smaller areas.
We always take extra care during this phase. Even if the texture is perfect, the wrong paint or sheen will give it away. It’s a detail that separates professional work from amateur patches.

Common Mistakes When Repairing Textured Drywall
- Skipping the practice test: Always try first on a board.
- Using too much compound: Leads to raised, obvious patches.
- Inconsistent drying times: Waiting too long or not enough before knockdown.
- Wrong texture or spray tip: Not all knockdowns are created equal.
- Not priming before paint: This leads to flashing and color mismatch.
We’ve corrected all these mistakes in past jobs. It’s why our approach always follows a strict prep–apply–blend–paint sequence.
Pro Tips for a Perfect Finish
- Control your lighting: Texture looks different under harsh lighting—test under real conditions.
- Humidity matters: Drying times and finish vary with room conditions.
- Feather your edges: Blending is everything.
- Know when to stop: Overworking the mud ruins the texture.
And yes, we’ve had plenty of clients amazed that there was ever any damage to begin with. That reaction only comes with professional, detailed texture matching.
When to Call a Professional Drywall Texture Specialist
If your wall has a complex or custom texture, or if the damage is extensive, consider calling a pro. Matching texture is an art that takes time and experience—especially on ceilings or with large surface areas.
We’re called in regularly by homeowners who tried first and then realized the job was more complex than it seemed. That’s totally okay—it’s not about giving up, it’s about getting the result you want.

